前言

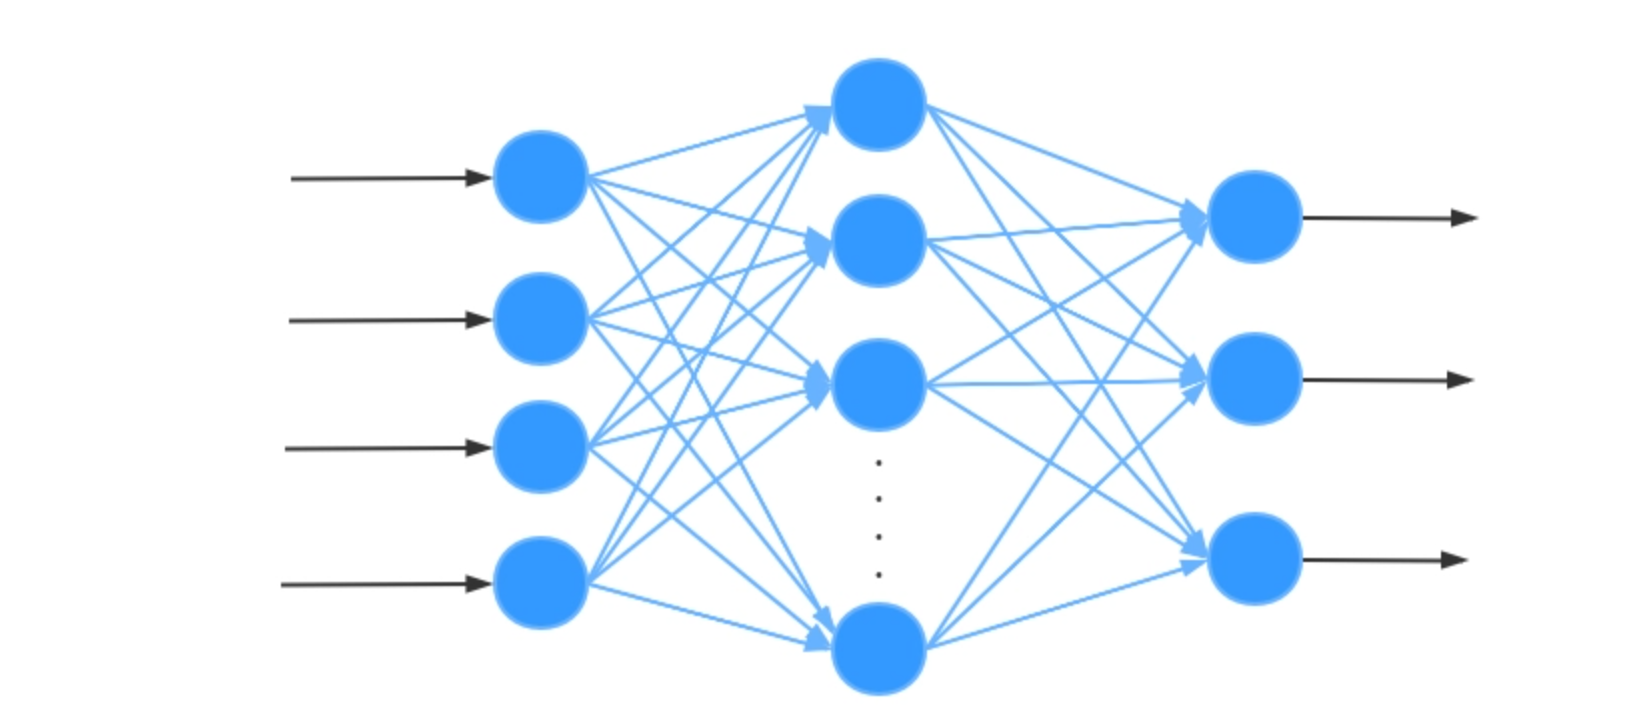
原来是使用DNN进行分类的,今天使用CNN来测试一下二分类与多分类,与DNN比较一下,看下哪个模型效果更好,把表现更好的换到基础模型里去

代码

二分类代码

1
2
3
4
5
6
7
8
9
10
11
12
13
14
15
16
17
18
19
20
21
22
23
24
25
26
27
28
29
30
31
32
33
34
35
36
37
38
39
40
41
42
43
44
45
46
47
48
49
50
51
52
53
54
55
56
57
58
59
60
61
62
63
64
65
66
67
68
69
70
71
72
73
74
75
76
77
78
79
80
81
82
83
84
85
86
87
88
89
90
91
92
93
94
95
96
97
98
99
100
101
102
103
104
105
106
107
108
109
110
111
112
113
114
from keras.models import Sequential
from keras.layers import Conv1D, MaxPooling1D, Flatten, Dense
import numpy as np
import pandas as pd
from sklearn.model_selection import train_test_split
from sklearn.metrics import confusion_matrix, classification_report, accuracy_score, precision_score, recall_score, \
f1_score
from sklearn.preprocessing import StandardScaler
from tensorflow.keras.models import Sequential
from tensorflow.keras.layers import Dense
from preprocess import preprocessing, printline
from imbalance_process import split_dataset, balance_training_set


def normalize_and_map_labels(X_train, X_test, y_train, y_test):
"""
归一化数据集,并将标签映射为二分类标签
BENIGN 映射为 0,其他类型映射为 1
"""
# 检查 X_train 和 X_test 是否包含非数值列
X_train_numeric = X_train.select_dtypes(include=[np.number])
X_test_numeric = X_test.select_dtypes(include=[np.number])

# 初始化StandardScaler
scaler = StandardScaler()

# 归一化训练集和测试集
X_train_scaled = scaler.fit_transform(X_train_numeric)
X_test_scaled = scaler.transform(X_test_numeric)

# 映射函数
def map_labels(y):
return (y != "BENIGN").astype(int)

# 创建新的二分类标签列:BENIGN = 0, others = 1
y_train_mapped = map_labels(y_train)
y_test_mapped = map_labels(y_test)

# 将原有数据集替换成归一化后的数值数据
X_train_scaled_df = pd.DataFrame(X_train_scaled, columns=X_train_numeric.columns)
X_test_scaled_df = pd.DataFrame(X_test_scaled, columns=X_test_numeric.columns)

# 打印输出验证处理后的数据
print(f"归一化后的 X_train shape: {X_train_scaled_df.shape}")
print(f"归一化后的 X_test shape: {X_test_scaled_df.shape}")

return X_train_scaled_df, X_test_scaled_df, y_train_mapped, y_test_mapped

def build_cnn_model(input_shape) -> Sequential:
"""构建CNN模型"""
model = Sequential()
model.add(Conv1D(filters=32, kernel_size=3, activation='relu', input_shape=input_shape))
model.add(MaxPooling1D(pool_size=2))
model.add(Conv1D(filters=64, kernel_size=3, activation='relu'))
model.add(MaxPooling1D(pool_size=2))
model.add(Flatten())
model.add(Dense(32, activation='relu'))
model.add(Dense(1, activation='sigmoid')) # 二分类使用sigmoid激活

model.compile(optimizer='adam', loss='binary_crossentropy', metrics=['accuracy'])
return model


def train_cnn(X_train, X_test, y_train, y_test):
"""训练CNN模型并评估性能"""

# 将输入数据重塑为CNN需要的形状
X_train_reshaped = X_train.values.reshape((X_train.shape[0], X_train.shape[1], 1)) # 例如 (样本数, 特征数, 1)
X_test_reshaped = X_test.values.reshape((X_test.shape[0], X_test.shape[1], 1))

cnn_model = build_cnn_model(input_shape=(X_train.shape[1], 1))

# 训练CNN模型
cnn_model.fit(X_train_reshaped, y_train, epochs=50, batch_size=256, validation_data=(X_test_reshaped, y_test))

# 预测并评估
y_pred = (cnn_model.predict(X_test_reshaped) > 0.5).astype(int)

# 混淆矩阵和评估指标
cm = confusion_matrix(y_test, y_pred)
TN, FP, FN, TP = cm.ravel()

print("混淆矩阵:")
print(cm)
print(f"真阳性 (TP): {TP}, 真阴性 (TN): {TN}, 假阳性 (FP): {FP}, 假阴性 (FN): {FN}")

accuracy = accuracy_score(y_test, y_pred)
precision = precision_score(y_test, y_pred)
recall = recall_score(y_test, y_pred)
f1 = f1_score(y_test, y_pred)
false_positive_rate = FP / (FP + TN) if (FP + TN) > 0 else 0

print("性能指标:")
print(f"准确率: {accuracy:.4f}")
print(f"精确率: {precision:.4f}")
print(f"召回率: {recall:.4f}")
print(f"F1分数: {f1:.4f}")
print(f"误报率: {false_positive_rate:.4f}")


if __name__ == '__main__':
# 步骤 1: 从数据集中分割数据
X_train, X_test, y_train, y_test = split_dataset()

# 步骤 2: 平衡训练集
X_train_resampled, y_train_resampled = balance_training_set(X_train, y_train)

# 步骤 3: 归一化并映射标签
X_train_scaled, X_test_scaled, y_train_mapped, y_test_mapped = normalize_and_map_labels(X_train_resampled,
X_test,
y_train_resampled,
y_test)

train_cnn( X_train_scaled, X_test_scaled, y_train_mapped, y_test_mapped)

多分类代码

1
2
3
4
5
6
7
8
9
10
11
12
13
14
15
16
17
18
19
20
21
22
23
24
25
26
27
28
29
30
31
32
33
34
35
36
37
38
39
40
41
42
43
44
45
46
47
48
49
50
51
52
53
54
55
56
57
58
59
60
61
62
63
64
65
66
67
68
69
70
71
72
73
74
75
76
77
78
79
80
81
82
83
84
85
86
87
88
89
90
91
92
93
94
95
96
97
98
99
100
101
102
103
104
105
106
107
108
109
110
111
112
113
114
115
116
117
118
119
120
121
122
123
124
125
126
127
128
129
130
131
132
133
134
135
136
137
138
139
140
141
142
143
144
145
146
147
148
import numpy as np
import pandas as pd
from sklearn.preprocessing import StandardScaler, LabelEncoder
from sklearn.metrics import confusion_matrix, classification_report, accuracy_score, precision_score, recall_score, f1_score
from tensorflow.keras.models import Sequential
from tensorflow.keras.layers import Dense, Conv1D, MaxPooling1D, Flatten, Dropout
from preprocess import preprocessing, printline
from imbalance_process import split_dataset, balance_training_set
import matplotlib.pyplot as plt
import seaborn as sns

def normalize_and_map_labels(X_train, X_test, y_train, y_test):
"""
归一化数据集,并将标签映射为多分类标签
"""
# 检查 X_train 和 X_test 是否包含非数值列
X_train_numeric = X_train.select_dtypes(include=[np.number])
X_test_numeric = X_test.select_dtypes(include=[np.number])

# 初始化StandardScaler
scaler = StandardScaler()

# 归一化训练集和测试集
X_train_scaled = scaler.fit_transform(X_train_numeric)
X_test_scaled = scaler.transform(X_test_numeric)

# 创建新的多分类标签,进行编码
encoder = LabelEncoder()
y_train_encoded = encoder.fit_transform(y_train)
y_test_encoded = encoder.transform(y_test)

# 将原有数据集替换成归一化后的数值数据
X_train_scaled_df = pd.DataFrame(X_train_scaled, columns=X_train_numeric.columns)
X_test_scaled_df = pd.DataFrame(X_test_scaled, columns=X_test_numeric.columns)

# 打印输出验证处理后的数据
print(f"归一化后的 X_train shape: {X_train_scaled_df.shape}")
print(f"归一化后的 X_test shape: {X_test_scaled_df.shape}")

return X_train_scaled_df, X_test_scaled_df, y_train_encoded, y_test_encoded


def plot_confusion_matrix(y_test, y_pred, class_names):
"""
绘制混淆矩阵
"""
cm = confusion_matrix(y_test, y_pred)

plt.figure(figsize=(10, 7))
sns.heatmap(cm, annot=True, fmt='d', cmap='Blues',
xticklabels=class_names, yticklabels=class_names)
plt.xlabel('预测标签')
plt.ylabel('实际标签')
plt.title('混淆矩阵')
plt.show()


def train_cnn(X_train, X_test, y_train, y_test, num_classes):
"""
使用 CNN 进行多分类
"""
input_shape = (X_train.shape[1], 1)

# 将输入数据重塑为CNN需要的形状
X_train_reshaped = X_train.values.reshape((X_train.shape[0], X_train.shape[1], 1)) # (样本数, 特征数, 1)
X_test_reshaped = X_test.values.reshape((X_test.shape[0], X_test.shape[1], 1))

# 构建 CNN 模型
cnn_model = Sequential([
Conv1D(64, kernel_size=3, activation='relu', input_shape=input_shape),
MaxPooling1D(pool_size=2),
Conv1D(128, kernel_size=3, activation='relu'),
MaxPooling1D(pool_size=2),
Flatten(),
Dense(64, activation='relu'),
Dropout(0.5),
Dense(num_classes, activation='softmax') # 修改输出层为 num_classes
])
cnn_model.compile(optimizer='adam', loss='sparse_categorical_crossentropy',
metrics=['accuracy']) # 使用 sparse_categorical_crossentropy

# 训练 CNN 模型
cnn_model.fit(X_train_reshaped, y_train, epochs=30, batch_size=256, validation_data=(X_test_reshaped, y_test))

# 预测并评估
y_pred = np.argmax(cnn_model.predict(X_test_reshaped), axis=1)

# 混淆矩阵和评估指标
class_names = ['BENIGN', 'Bot', 'DDoS', 'DoS GoldenEye', 'DoS Hulk',
'DoS Slowhttptest', 'DoS slowloris', 'FTP-Patator',
'Heartbleed', 'PortScan', 'SSH-Patator'] # 根据实际类别名称进行填充
cm = confusion_matrix(y_test, y_pred)
plot_confusion_matrix(y_test, y_pred, class_names)

# 计算评估指标
report = classification_report(y_test, y_pred, target_names=class_names, output_dict=True)

print("每个类别的指标:")
for i, class_name in enumerate(class_names):
precision = report[class_name]['precision']
recall = report[class_name]['recall']
f1 = report[class_name]['f1-score']
support = report[class_name]['support']

# 获取假阳性和真阴性
false_positive = cm[:, i].sum() - cm[i, i] # 所有预测为该类的样本中,实际为该类的数量
true_negative = cm.sum() - (cm[i, :].sum() + cm[:, i].sum() - cm[i, i]) # 总数减去假阳性和假阴性
true_positive = cm[i, i] # 真正例

# 计算准确率
if (true_positive + false_positive + (support - recall * support)) > 0:
accuracy = true_positive / (true_positive + false_positive + (support - recall * support))
else:
accuracy = 0

if (false_positive + true_negative) > 0:
false_positive_rate = false_positive / (false_positive + true_negative)
else:
false_positive_rate = 0

print(f"类别: {class_name}")
print(f" 准确率Accuracy: {accuracy:.4f}")
print(f" 精确率Precision: {precision:.4f}")
print(f" 召回率Recall: {recall:.4f}")
print(f" F1分数: {f1:.4f}")
print(f" 误报率FAR: {false_positive_rate:.4f}\n")

overall_accuracy = accuracy_score(y_test, y_pred)
print(f"总体准确率: {overall_accuracy:.4f}")


if __name__ == '__main__':
# 步骤 1: 从数据集中分割数据
X_train, X_test, y_train, y_test = split_dataset()

# 步骤 2: 平衡训练集
X_train_resampled, y_train_resampled = balance_training_set(X_train, y_train)

# 步骤 3: 归一化并映射标签
X_train_scaled, X_test_scaled, y_train_encoded, y_test_encoded = normalize_and_map_labels(X_train_resampled,
X_test,
y_train_resampled,
y_test)

# 步骤 4: 使用 CNN 进行训练和评估,设定类别数量
num_classes = len(np.unique(y_train)) # 获取类别数量
train_cnn(X_train_scaled, X_test_scaled, y_train_encoded, y_test_encoded, num_classes)

实验结果

二分类

一定要比的话,CNN效果比DNN效果好一点,因为两种方法分类效果都很好,只有百分之零点几的误差,但是总体上来说是CNN效果比DNN好,光看分错样本的数量就能看出来,DNN分错样本数在3000左右,或者3000多一点,但是使用CNN进行分类每次分错样本数都在3000以内

第一次

CNN二分类(第一次)

第二次

CNN分类(第二次)

使用DNN二分类效果

DNN二分类效果

多分类

CNN与DNN多分类对比效果如下表所示,整体效果还是CNN更好一些,且CNN仅训练了30轮,DNN训练了50轮

类别 CNN DNN winner
BENIGN Accuracy: 0.9940
Precision: 0.9989
Recall: 0.9952
F1 Score: 0.9970
FAR: 0.0037
Accuracy: 0.9894
Precision: 0.9989
Recall: 0.9904
F1 Score: 0.9947
FAR: 0.0034
CNN
Bot Accuracy: 0.4446
Precision: 0.5223
Recall: 0.7494
F1 Score: 0.6155
FAR: 0.0006
Accuracy: 0.2160
Precision: 0.2172
Recall: 0.9744
F1 Score: 0.33552
FAR: 0.0029
CNN
DDoS Accuracy: 0.9929
Precision: 0.9949
Recall: 0.9979
F1 Score: 0.9964
FAR: 0.0003
Accuracy: 0.9597
Precision: 0.9618
Recall: 0.9977
F1 Score: 0.9794
FAR: 0.0023
CNN
DoS GoldenEye Accuracy: 0.9667
Precision: 0.9788
Recall: 0.9874
F1 Score: 0.9831
FAR: 0.0001
Accuracy: 0.9518
Precision: 0.9631
Recall: 0.9879
F1 Score: 0.9753
FAR: 0.0002
CNN
DoS Hulk Accuracy: 0.9726
Precision: 0.9773
Recall: 0.9951
F1 Score: 0.9861
FAR: 0.0025
Accuracy: 0.9715
Precision: 0.9807
Recall: 0.9904
F1 Score: 0.9855
FAR: 0.0021
相等
DoS Slowhttptest Accuracy: 0.8860
Precision: 0.9008
Recall: 0.9818
F1 Score: 0.9395
FAR: 0.0003
Accuracy: 0.8507
Precision: 0.8665
Recall: 0.9791
F1 Score: 0.9193
FAR: 0.0001
CNN
DoS slowloris Accuracy: 0.9325
Precision: 0.9424
Recall: 0.9888
F1 Score: 0.9651
FAR: 0.0001
Accuracy: 0.8741
Precision: 0.8878
Recall: 0.9827
F1 Score: 0.9328
FAR: 0.0003
CNN
FTP-Patator Accuracy: 0.9770
Precision: 0.9850
Recall: 0.9918
F1 Score: 0.9884
FAR: 0.0001
Accuracy: 0.9862
Precision: 0.9931
Recall: 0.9931
F1 Score: 0.9931
FAR: 0.0000
DNN
Heartbleed Accuracy: 1.0000
Precision: 1.0000
Recall: 1.0000
F1 Score: 1.0000
FAR: 0.0000
Accuracy: 1.0000
Precision: 1.0000
Recall: 1.0000
F1 Score: 1.0000
FAR: 0.0000
PortScan Accuracy: 0.9965
Precision: 0.9988
Recall: 0.9977
F1 Score: 0.9983
FAR: 0.0001
Accuracy: 0.9965
Precision: 0.9993
Recall: 0.9972
F1 Score: 0.9983
FAR: 0.0000
相等
SSH-Patator Accuracy: 0.8933
Precision: 0.9037
Recall: 0.9873
F1 Score: 0.9437
FAR: 0.0003
Accuracy: 0.9165
Precision: 0.9275
Recall: 0.9873
F1 Score: 0.9565
FAR: 0.0002
DNN

表现效果

都使用推荐超参数,在CIC-IDS2017数据集上二者表现不相上下都能达到各指标98%~99%的表现效果,误差对比也不大,主要是因为本身CIC-IDS2017数据集的表现很优秀,后续还要在UNSW-NB15数据集上测试一下两种深度学习模型的表现效果,那个数据集本身一般般,应该能更好对比出两种模型的优劣,而且现在还是没有调整最优超参数,如果花时间炼一下丹应该能更加精进一步,取得更好一些的效果

存在问题

无论是单独使用GeometricSMOTE+DNN还是使用GeometricSMOTE+CNN,模型都太过简单,工作量不足,需要在现有模型上添加上其他模型或者算法,提高工作量,更好唬人,不管加上去的模型或算法能不能提高检测效果,只要它不降低检测效果就可以堆上去,反正这个领域的论文都是在当组合怪,现在还没有找到合适的算法或者模型,可以尝试一下下面的方向:

  • 集成学习:使用集成方法,如随机森林、梯度提升树(如XGBoost或LightGBM)与CNN结合,利用CNN提取特征后用集成模型进行分类
  • 特征选择与提取:在数据预处理阶段,应用特征选择技术(如Lasso回归、PCA)来选择重要特征,减少噪声
  • 模型融合:将多个模型(例如CNN、RNN、决策树等)进行融合,通过投票或加权平均来提高分类性能
  • 异常检测方法:结合传统的异常检测算法(如Isolation Forest或One-Class SVM)作为前处理步骤,先识别出可能的异常样本,再使用CNN进行分类

师兄的论文题目是基于图像凸包特征的CBAM-CNN网络入侵检测方法,他选择了凸包算法作为论文中的一个凸出点,他最开始的是仿射变换

我也要找到一种算法加进模型里去,作为数据预处理阶段使用,因为数据预处理完之后就开始训练了,套用的都是现有的模型,不好去修改它,要么就做多个分类器进行模型融合,要么就是在训练开始之前使用方法进行处理,或者其他阶段也能插东西进去,但是看论文也没见到过。